In the world of gardening, many people choose to create and design raised gardens based on space, preference, or just plain old style. Since there are many variables in which we have in our own outdoor spaces, sometimes a raised garden bed is the right fit. In this article we will discuss how to create a raised garden bed for the beginner in mind.
Types of Raised Garden Beds
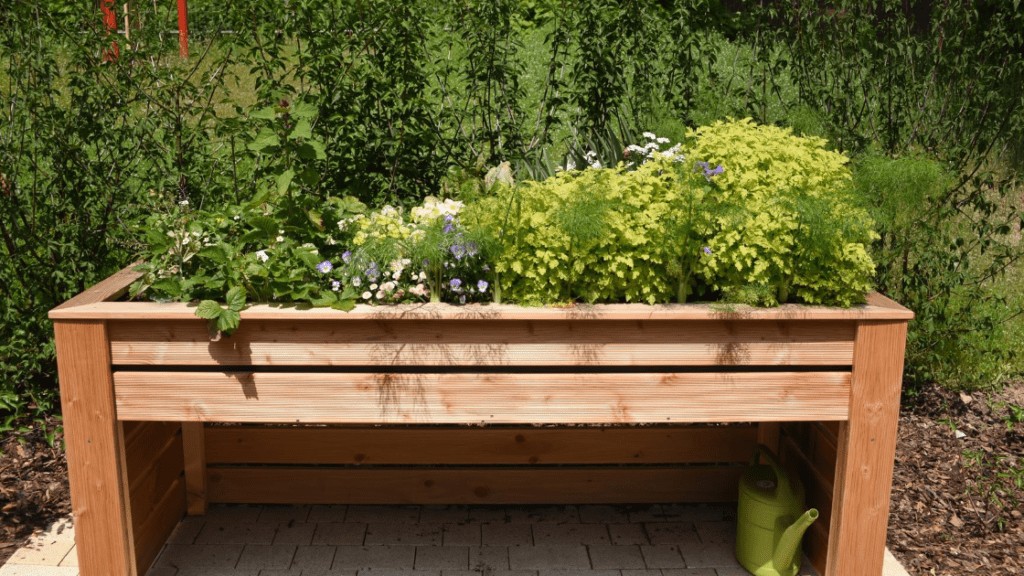
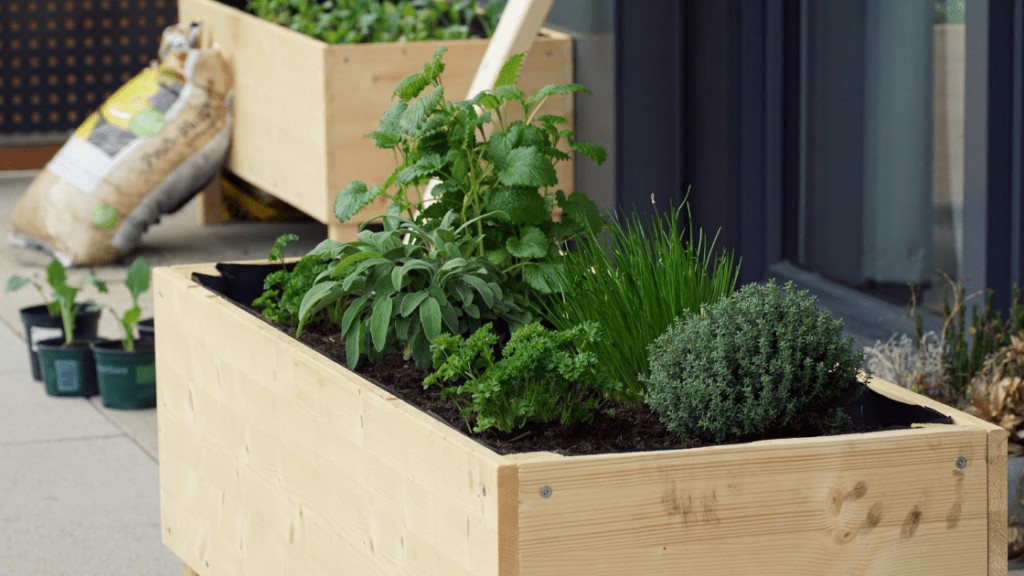
The simplest form of a raised garden bed is a supporting structure that raises the ground level of your garden. In this regard, raised garden beds can be as high or low as you want them depending on the look and need one is going for.
While there are many materials one can possible use, choosing should not be overly complicated because they can be made from just about anything you can get your hands on. This allows the person to be creative by picking and choosing materials that would otherwise be thrown out. Or maybe, buying the material is a easier choice.
Browse our Affiliate Products
Since there are many materials that can be used the possibilities are endless to create your planter frame. Such material consists of :
- Plastic and plastic bottles(can be filled with any material to create an effect)
- Wood, Logs
- Stones
- Cement
- Rubber (such as used and old rubber tires)
- Bricks (Mostly commonly used)
- Metal
- Etc…
As you can see, there are many options one can choose from and the only limiting factor is your imagination and choosing where to install them. While this list is an example, let’s look at some benefits or raised gardens.
If your looking for plans or a completed project check out these products.
Benefits of Raised Gardens
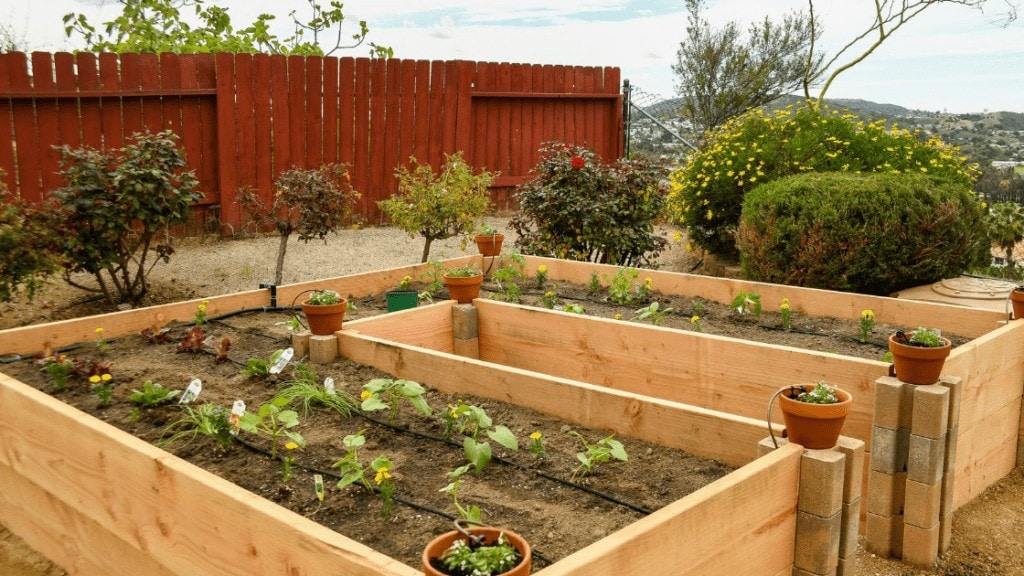
With raised beds, you can put your garden anywhere. You can create a garden in your perimeter, your entryway, your front yard, or give depth to your existing garden. Also, you can use every square inch of space in your raised bed for your plants, or vegetable garden. This way, every square inch is productive while being able to harvest more food in less space, or create beauty with flowering plants.
In a raised bed, excess water drains better. It also warms up the soil faster in spring. This is beneficial because you can then plant earlier than usual by using good soil. This is especially true when you have poor soil on your property.
Additionally, when you plant densely, weeds will have little room to grow. Even if weeds find space, it is easy to pull them from the loose, rich soil. Also, with insect, they are easily spotted when problems arise and can quickly be managed by the usage of fabrics. Also, when winter comes your raised bed can easily be covered from frost and other weather-related issues.
Disadvantages of Raised Garden Beds
It can be somewhat expensive to start a raised garden bed. For one, you need to buy soil to put in. Another expense could be the material used to construct the walls, but it all depends preference. This can get pricey really fast if you hire someone to install concrete walls and/or bricks. But, the good thing is that it is a one time cost.
Additionally, raised beds need more watering during the summer. This is because more surface area is exposed and your soil will inadvertently dry out much faster.
Depending on the walls you choose, for example, wood, if not properly treated, overtime they can be destroyed by rot, and termites. Also, drip irrigation can be difficult to install.
Where can you put raised beds?
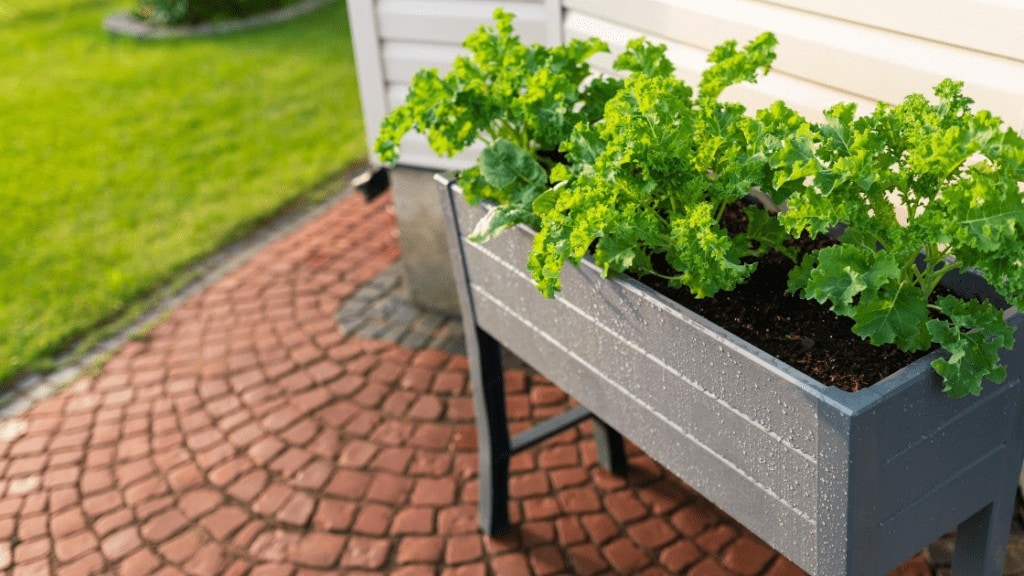
Location is everything when you are preparing a raised bed. You don’t necessarily have to put it in your backyard. You can have your raised bed in a sunny side yard, your front yard, or even your driveway.
If your area is sloping, you can make modifications by making sure the area drains well. Furthermore, you want to pick a location that gets six to eight hours of sun a day. Just like real estate, location is everything and your garden will love you for it.
Raised Garden Bed Kits
If you want to build a raised garden bed, you can either go with a pre-fab kit or start from scratch. You can find kits in the market that are easy to build with little time or expense.
If you don’t have time and resources to build your raised garden from scratch, you can simply purchase a raised garden bed kit. In this case, your first consideration should be the type of materials available and how quickly and easily they go together.
Natural Wood Raised Bed Kits
Kits made from natural wood are least expensive. Most natural wood kits are easy to assemble. It only needs to be stacked together and even without using tools can be done in a few minutes. You can then fill your raised bed with soil and your garden is ready to go. Most woods last for many years, but like all exposed wood, eventually they all succumb to the elements and insects.
Natural Cedar Raised Beds Kits
These kits are made from natural cedar and can be assembled in minutes even without tools. You can find these kits in varying sizes and shapes. Cedar is a premium wood that is naturally rot-resistant. It can also help up well to weather extremes.
If you leave your cedar bed untreated, the color will fade to a silver-grey. This can happen in 2 to 3 years. Compared to plastic, cedar beds have a shorter lifespan. In dry regions, they can last long, In rainy areas, the wood may retain moisture for longer which can create the condition for rot and deterioration.
Recycled Plastic Raised Beds Kits
Most plastic beds are made from HDPE or high-density polyethylene plastic. This is an extremely durable material. It is also non-leaching. It is able to withstand extreme winter freezing and summer hot spells in which make It is very durable. It is resistant to cracking or chipping even in extreme hot or cold weather. It does not leach chemicals into the soil. They don’t shrink, twist, or warp over time. They are also easy to clean.
Another positive thing about HDPE plastic is that it is fairly inexpensive and durable while having a long lifespan. They also can be purchased with an assortment of designs, shapes, and sizes.
Composite Raised Beds Kits
Composite raised beds are made of a blend of wood fiber and UV-protected recycled polyethylene.
Since these are hollow boards, they are extremely lightweight. They are easy to lift and assemble. Screws are used to attach the timers so they are easy to disassemble and reassemble without damaging the material. Its appearance is like that of solid wood. But unlike natural wood, there is no variation in color or texture. They are also weather and rot-resistant and easy to clean with a hose.
However, these hollow boards can easily be damaged. If it is hit hard with a tool, it will crack or leave a mark. It can also bow outwards. If there is increased weight when the bed is raised will also increase the pressure on the sides and can bow them outwards. Over time, color fading will occur to the most sun-exposed surfaces.
Vinyl Raised Beds Kits
Many people think that a vinyl garden bed liner is not a good thing. They say that when the vinyl heats up, it leaches out plastic toxins. In a sense is true. This can easily be fixed with a non-toxic inner liner.
The good thing about this material is that it won’t rot or rust. It is also very light and more flexible than wood. It helps insulate the bed from rapid temperature changes. However, they do get brittle with age.
Where to Buy Raised Garden Kits
You can find many websites that sell raised garden bed kits. Amazon and eBay are the most popular sites for these kits. Urban Farmer is another great website to go for seeds, tools, and raised beds. Home Depot is a great option for finding raised bed garden kits. Lowes offers a good variety of raised bed options, but all of their choices seem to be made of composite material.
There are also many good brands that you can choose from. Greenes fence is a brand making a range of raised garden bed kits, all made in the US. Veg-Trug makes all things for the garden. They have dozens of options for raised bed garden kits. Another good brand to look for that makes a range of raised garden bed products in a huge range of sizes is Gronomics.
How to Make a Wooden Garden Bed
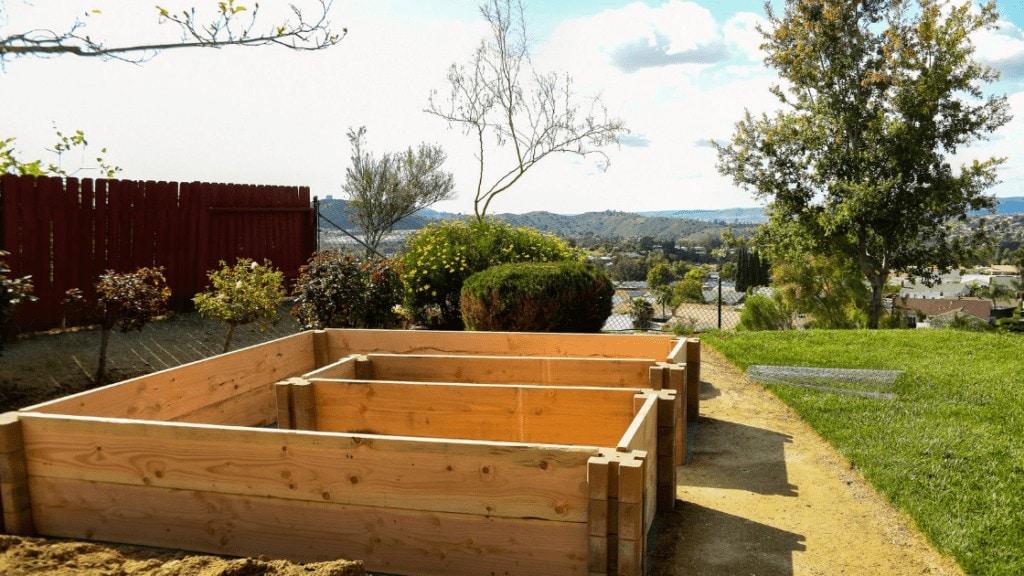
It is fairly easy to construct a raised garden bed. It is even easier to maintain and it offers many benefits for your garden.
- With your 2×10 pre-cut lumber, create a four-sided structure. You first need to level and clear the area where you will locate your raised bed. Then lay out the bottom ties of your bed using your pre-cut lumber and your four corner posts.
- Shorter walls should be flush to the longer walls so it looks like a rectangle. Drill pilot holes using 2 inch deck screws to fasten short walls to long walls.
- From the first corner, attach the frame to the corner post using two screws per side. Level as you go. Then continue with the remaining three sides until you have one complete row.
- Add the next row or pre-cut boards, screwing to the corner posts as above. Level the entire bed. You may have to dig in places to get your bed to level.
- Cut off corner posts flush with the top of the frame. Smooth the ground around the bed and fill the bed with soil. Now, you are ready to plant.
DIY raised garden beds can vary depending on your needs. You can make them fit in tricky places and unusual depth. The dimension of your DIY raised garden bed can vary depending on your available space. In terms of bed size, 4 feet is a common width. Most lumber is cut in 4-feet increments. This can help you access the garden without stepping into the bed. If the bed is too wide, you will have a difficult time reaching the middle. This makes weeding and harvesting difficult.
TIP: Why is it better to use pressure-treated wood?
Pressure-treated wood is affordable, readily-available lumber that will last longer than cedar or juniper. It is safe and affordable and has a long-lasting warranty.
Here’s a video that shows how easy and affordable it is to build one on your own. Also, having working knowledge of safety and using power tools is highly recommended.
What do you have to do if you use treated wood?
Before using pressure-treated wood, check the tag on the end of the wood for the preservative used in pressure treatment. Be sure to read the use and handling guidelines available.
Tools and Materials Needed
Garden Trowel
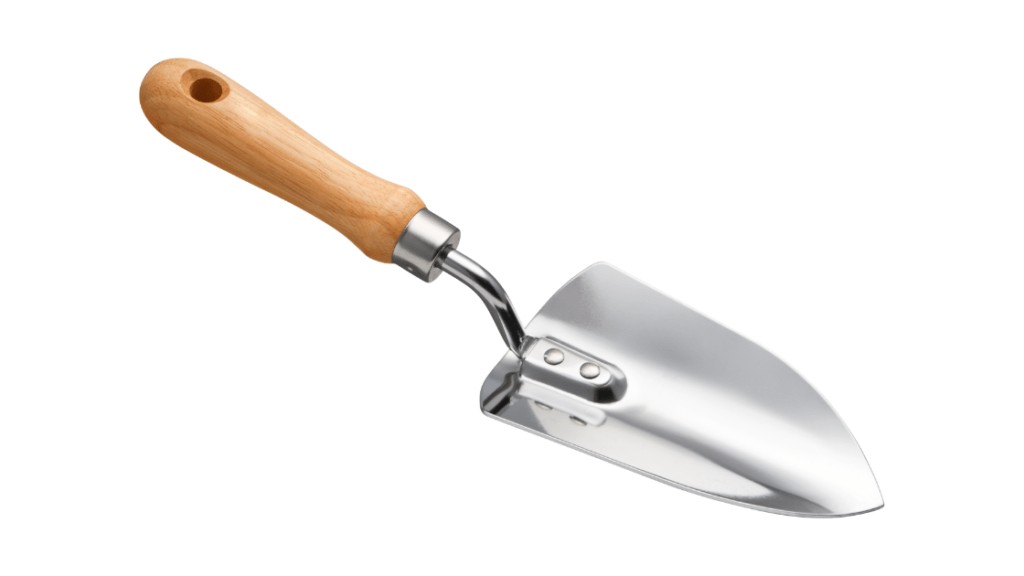
A garden trowel is a small handheld shovel or spade. These are used for digging small holes for planting and are also used to dig up weeds.
Garden Tool Set
Every gardener needs a few staple tools in their arsenal. Choose a quality garden tool set so you will be set with the most essential tools. There are different sets for different gardening requirements. Whether you are planting, re-potting, or pruning, you are sure t find a set to suit your needs.
Mallets
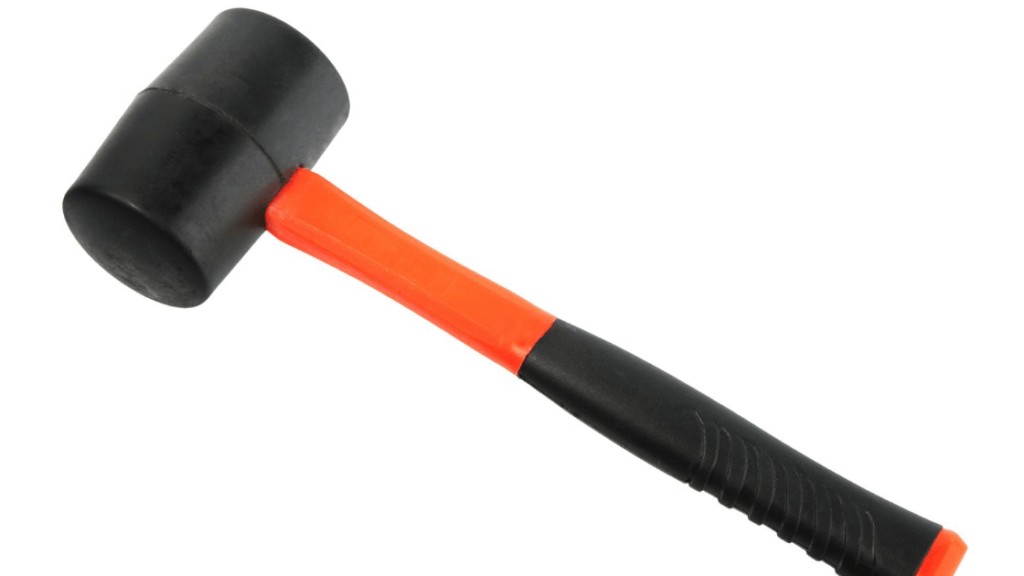
You need a rubber mallet for hammering re-bars for your raised garden bed.
Garden Hose
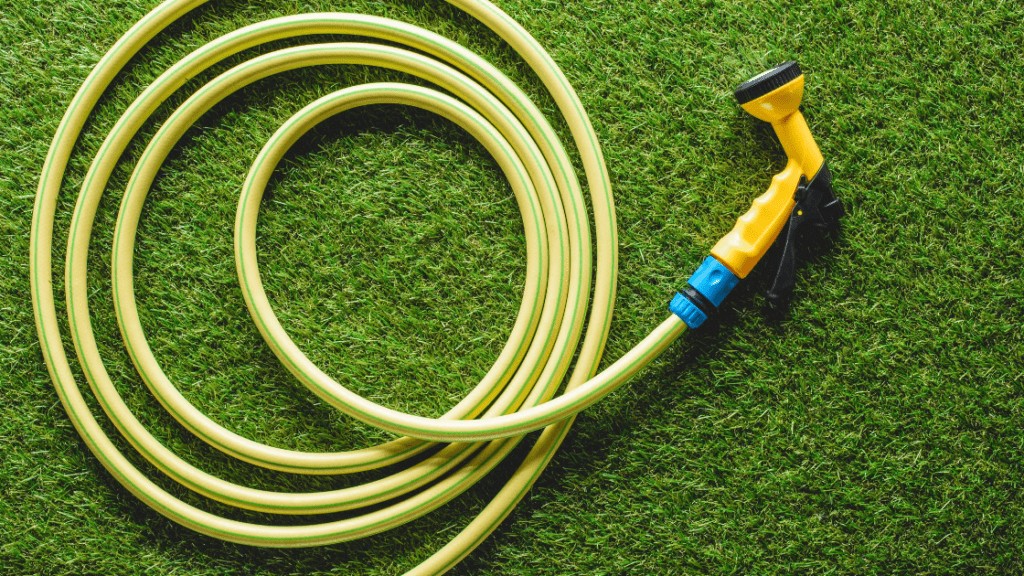
A garden hose is a flexible tool used to convey water. Hoses are usually attached to a hose spigot or tap.
Furthermore, other materials that may be useful to you are the following: shovels, vegetable and herb seeds, plants and flowers, tomato cages, and garden soil.
****Always pay attention to safety when working with power tools. You should always wear EYE and EAR PROTECTION, as well as gloves to protect yourself.****
Tips for Your Raised Garden Bed
It is crucial that your garden has enough sunlight. All plants require sunlight to produce energy for growth and flower production. But some plants need more of it than others.
You need to choose a flat, sunny spot for your garden. Soil and location are the two most important elements of a garden. It is all about location. The success or failure of your plants is quite dependent upon where they sit.
Your raised garden beds should be oriented to gain the maximum benefit from sun exposure. Beds should be arranged horizontally facing south. With this, sun exposure is optimized from side to side across the bed. Adjacent plants are also kept from shading each other as the sun moves east during the day.
The best sun is the morning sun. It is the morning light that gets your plants growing every day. Your plants need at least six hours of sun. otherwise, you may have to adjust the location of your garden site.
Don’t worry about soil in that area since you will be using your own.
Line Your Raised Garden Bed with Landscape Fabric to prevent weeds from growing, landscape fabric can be used. It helps prevent weeds from getting sunlight. Landscape fabrics are breathable to allow water to permeate. If you use it to line your raised beds, it will allow the soil to drain while also preventing weeds from growing.
You can use weed block landscape fabric. Landscape fabric weed block works well in perennial gardens where the fabric will not be disturbed for several years.
Selecting an appropriate peg for your landscape fabric is vital for ensuring long-lasting efficiency. Any movement of your fabric caused by a lack of adequate fixing could create gaps between sheets. The glimmer of light can help nurture weeds. Undoing all your hard work. Pegs are sturdy enough to withstand harsh weather conditions, pedestrian activity, and many different types of ground and soil structure.
Add Soil to Your Raised Garden Bed
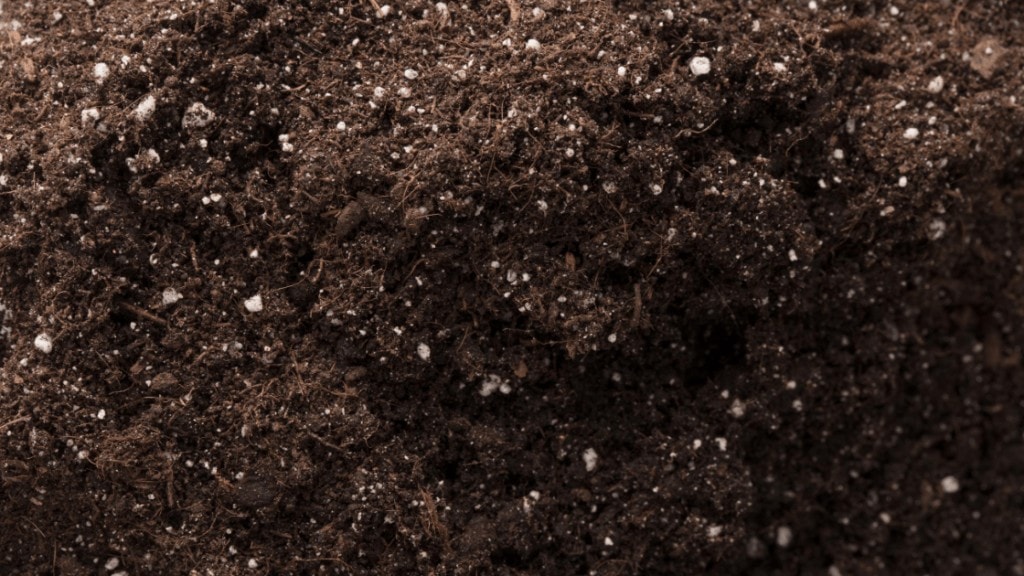
The best soil for growing edible crops is free-draining. It can still retain moisture and nutrients. It should be rich in organic matter. It should have a neural pH to slight acidity (pH 6 to 7).
The best soil to use for flowers depends on the type of flower such as bulb or seed and where you are growing it. For example, flower bulbs will thrive in sandy loam soil.
The best soil for most plants to ensure optimum growth is rich, sandy loam. This soil is a mixture of sand, silt, and clay. You need to use compost to amend your soil in most cases. Depending on how compact your soil is, you may need to add peat moss and sand. However, there are many plants that are well adapted and can grow in particular types of soil.
Some soils need a helping hand to get to an adequate point. Sometimes your soil may not be within the ideal pH range. If you have soil that is too acidic, you will need to raise your soil pH to make it more alkaline. Amendments should be added to get it into its ideal range.
For more information on garden soils Click Here.
Here are some soil amendments used to adjust the consistency and content of garden soil. Bark improves soil structure. Compost is an excellent soil conditioner that adds nutrients and lowers soil pH. Leaf mold decomposes leaves that add nutrients and structure to the soil. Peat moss is a conditioner that helps soil retain water and can lower soil pH. Sand improves drainage in dry soil.
Add enough soil to the bed. The soil in raised beds is usually a few inches below the bed’s rim. The reason for this is that soil compresses after several watering. Having the soil level down a few inches is useful because you will likely want to add a few inches of mulch.
Add Your Seed and/or Plants to Your Raised Garden Bed
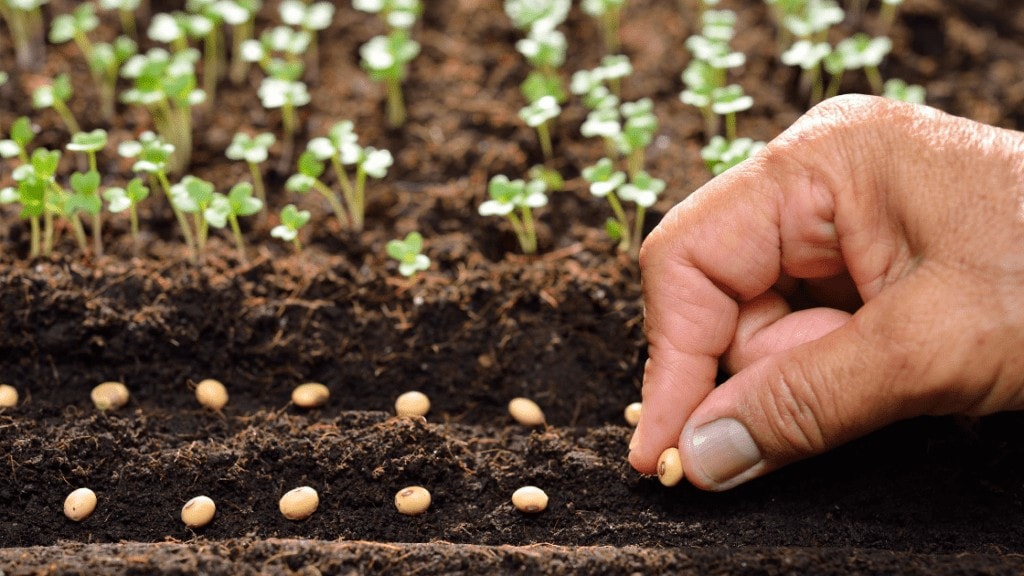
Fill your garden with the types of vegetables you like to eat. Though most of the vegetables you will want to grow could be started directly in the garden from seed, in many cases, it is best to start out with a plant. Starting with a plant usually, shortens the time to harvest by a month or more.
Make sure to read planting directions on the package. The general rule, however, is to plant seeds at a depth of 2 to 3 times the seed diameter. To give equal exposure to the sun, your vegetable rows should run north to south. The rows should be far enough apart to allow space for the full-grown plants.
To prevent the taller plants from shading the shorter plants, layout your raised bed vertically to the sun (north to south). This arrangement minimizes plants shading each other.
It is exciting how fast plants can grow once they are planted in your raised bed. It is then important to corral support them with cages, stakes, trellises, and arbors before they become overpowering.
Plants grow differently so you need to match the support to the plant. A miss match can leave your plant flopping on the ground.
You need to protect your tender crops from birds so you don’t find leaves covered with bite marks and new shoots eaten to the ground. Bird netting will make it difficult for birds to access your vegetable garden. It will stop them from destroying it.
Bird netting is also excellent to prevent butterflies from laying their eggs on your crops. Netting can be laid directly on the area that has been planted but it should be placed on supports to raise it off the plants once they start growing.
Plants should not be watered while in full sun. it is not water efficient since much of it will evaporate before entering the soil. It is best to water in the early evening. This gives the plants enough time to dry out, but there is still the chance for overnight water uptake by the roots.
If you want to water in the morning then start very early before the sun is shining. If you water in the early morning, water will be available to the plants throughout the day. This will help the plants better deal with the sun’s heat.
Final Thoughts
If you are a beginner, raised beds will provide you with an easy way to start gardening. You need to take a bit more investment upfront, but it can guarantee success in the first year. Follow the tips above and you will find success with your raised garden bed.
